spring中@import和@importResource的使用
spring中@import和@importResource的使用
@import
import注解主要用在基于java代码显式创建bean的过程中,用于将多个分散的config配置类组成一个更大的config类。 importResource注解也有类似功能。配置类的组合主要发生在跨模块或跨包的配置类引用过程中。
spring4.2版本之前@import只支持导配置类,过后可以导普通类
1.例子1
一般来说, 需要按模块或类别 分割Spring XML bean文件 成多个小文件, 使事情更容易维护和模块化。 例如,
<beans xmlns="http://www.springframework.org/schema/beans"
    xmlns:xsi="http://www.w3.org/2001/XMLSchema-instance"
    xsi:schemaLocation="http://www.springframework.org/schema/beans
    http://www.springframework.org/schema/beans/spring-beans-2.5.xsd">

    <import resource="config/customer.xml"/>
    <import resource="config/scheduler.xml"/>

</beans>
下面配置类与之等效
import org.springframework.context.annotation.Configuration;
import org.springframework.context.annotation.Import;

@Configuration
@Import({ CustomerConfig.class, SchedulerConfig.class })
public class AppConfig {

}
在列表中,@Import 是被用来整合所有在@Configuration注解中定义的bean配置。这其实很像我们将多个XML配置文件导入到单个文件的情形。@Import注解实现了相同的功能。
在下面的例子中,创建了两个配置文件,然后导入到主配置文件中。最后使用主配置文件来创建ApplicationContext
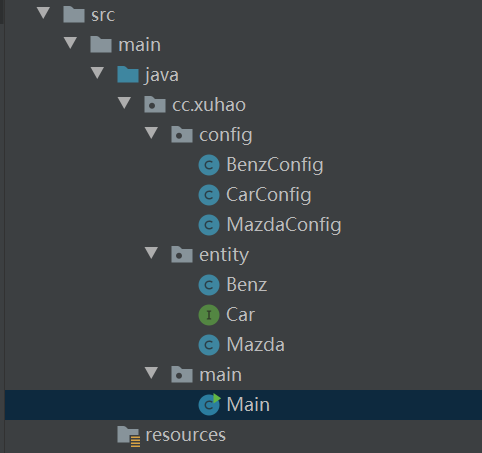
类结构如下
package cc.xuhao.entity;

/**
 * @author xuhao
 * @date 2021-01-22 11:39
 */
public interface Car {
    void run();
}


package cc.xuhao.entity;

import org.springframework.stereotype.Component;

/**
 * @author xuhao
 * @date 2021-01-22 11:41
 */
@Component
public class Benz implements Car {

    public void run() {
        System.out.println("im Benz, very expensive");
    }
}


package cc.xuhao.entity;

import org.springframework.stereotype.Component;

/**
 * @author xuhao
 * @date 2021-01-22 11:40
 */
@Component
public class Mazda implements Car {
    public void run() {
        System.out.println("im mazda 3 ...");
    }
}
config类
package cc.xuhao.config;

import cc.xuhao.entity.Benz;
import cc.xuhao.entity.Car;
import org.springframework.context.annotation.Bean;
import org.springframework.context.annotation.Configuration;

/**
 * @author xuhao
 * @date 2021-01-22 11:46
 */
@Configuration
public class BenzConfig {

    @Bean("benz")
    public Car getBenz() {
        return new Benz();
    }
}


package cc.xuhao.config;

import cc.xuhao.entity.Car;
import cc.xuhao.entity.Mazda;
import org.springframework.context.annotation.Bean;
import org.springframework.context.annotation.Configuration;

/**
 * @author xuhao
 * @date 2021-01-22 11:48
 */
@Configuration
public class MazdaConfig {

    @Bean("mazda")
    public Car getMazda() {
        return new Mazda();
    }
}


package cc.xuhao.config;

import org.springframework.context.annotation.Configuration;
import org.springframework.context.annotation.Import;

/**
 * @author xuhao
 * @date 2021-01-22 11:49
 */
@Configuration
@Import({BenzConfig.class, MazdaConfig.class})
public class CarConfig {
}
通过主配置文件创建ApplicationContext
package cc.xuhao.main;

import cc.xuhao.config.CarConfig;
import cc.xuhao.entity.Benz;
import cc.xuhao.entity.Mazda;
import org.springframework.context.ApplicationContext;
import org.springframework.context.annotation.AnnotationConfigApplicationContext;

/**
 * @author xuhao
 * @date 2021-01-22 11:51
 */
public class Main {
    public static void main(String[] args) {
        ApplicationContext applicationContext = new AnnotationConfigApplicationContext(CarConfig.class);
        Benz benz = (Benz) applicationContext.getBean("benz");
        benz.run();
        Mazda mazda = (Mazda) applicationContext.getBean("mazda");
        mazda.run();
    }
}
控制台输出
im Benz, very expensive
im mazda 3 ...
示例3:spring4.2之后导入普通java bean
import org.springframework.context.annotation.Configuration;
import org.springframework.context.annotation.Import;
//配置类
@Configuration
@Import(DemoService.class) // 在spring 4.2之前是不不支持的
public class DemoConfig {

}


//普通java类
public class DemoService {
    public void doSomething() {
        System.out.println("halo...");
    }
}


//得到普通类并调用
import org.springframework.context.ApplicationContext;
import org.springframework.context.annotation.AnnotationConfigApplicationContext;

public class Test {
    public static void main(String[] args) {
        ApplicationContext context = new AnnotationConfigApplicationContext("cc.xuhao");
        DemoService ds = context.getBean(DemoService.class);
        ds.doSomething();
    }
}
总结
@import注解帮助我们将多个配置文件(可能是按功能分,或是按业务分)导入到单个主配置中,以避免将所有配置写在一个配置中
@importResourse
例子1
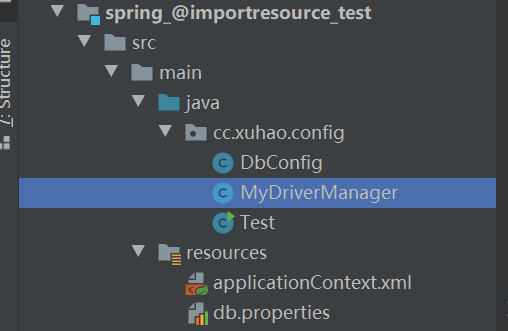
先看测试项目结构
使用@ImportResource 和 @Value 注解进行资源文件读取
模拟读取数据库配置信息
package cc.xuhao.config;

import org.springframework.beans.factory.annotation.Value;
import org.springframework.context.annotation.Bean;
import org.springframework.context.annotation.Configuration;
import org.springframework.context.annotation.ImportResource;

/**
 * @author xuhao
 * @date 2021-01-22 12:47
 */
@Configuration
@ImportResource("classpath:applicationContext.xml")
public class DbConfig {

    @Value("${diverName}")
    private String diverName;
    @Value("${url}")
    private String url;
    @Value("${username}")
    private String username;
    @Value("${password}")
    private String password;

    @Bean("manager")
    public MyDriverManager getConnection() {
        return new MyDriverManager(this.diverName, this.url, this.username, this.password);
    }
}
package cc.xuhao.config;

/**
 * @author xuhao
 * @date 2021-01-22 12:59
 */
public class MyDriverManager {
    public MyDriverManager(String diverName, String url, String username, String password) {
        System.out.println("diverName = " + diverName);
        System.out.println("url = " + url);
        System.out.println("username = " + username);
        System.out.println("password = " + password);
    }
}
package cc.xuhao.config;

import org.springframework.context.ApplicationContext;
import org.springframework.context.support.ClassPathXmlApplicationContext;

/**
 * @author xuhao
 * @date 2021-01-22 13:02
 */
public class Test {
    public static void main(String[] args) {
        ApplicationContext applicationContext = new ClassPathXmlApplicationContext("classpath:applicationContext.xml");
        MyDriverManager manager = (MyDriverManager) applicationContext.getBean("manager");
        System.out.println(manager.getClass().getName());
    }
}
资源文件 applicationContext.xml
<?xml version="1.0" encoding="UTF-8"?>
<beans xmlns="http://www.springframework.org/schema/beans"
       xmlns:xsi="http://www.w3.org/2001/XMLSchema-instance" xmlns:context="http://www.springframework.org/schema/context"
       xsi:schemaLocation="http://www.springframework.org/schema/beans
            http://www.springframework.org/schema/beans/spring-beans-4.1.xsd
            http://www.springframework.org/schema/context
            http://www.springframework.org/schema/context/spring-context-4.1.xsd">
	<!--context:property-placeholder 指定资源文件的位置 -->
    <context:property-placeholder location="classpath:db.properties" />

    <context:component-scan base-package="cc.xuhao">
    </context:component-scan>

</beans>
db.properties文件
diverName=com.mysql.jdbc.Driver
url=jdbc:mysql://localhost:3306/test
username=root
password=123456
console输出
diverName = com.mysql.jdbc.Driver
url = jdbc:mysql://localhost:3306/test
username = Administrator
password = 123456
cc.xuhao.config.MyDriverManager